DIY Nightmare Before Christmas Tree Topper: A Spooky Yet Festive Holiday Project
Mar 28 2025
As the holiday season approaches, many people are looking for unique ways to decorate their homes with a touch of creativity and personality. If you're a fan of "The Nightmare Before Christmas," creating a DIY Nightmare Before Christmas tree topper can be an excellent way to bring your festive spirit to life. This project allows you to express your love for the iconic film while adding a personal flair to your holiday decorations.
This article will guide you step-by-step through the process of designing and crafting your own DIY Nightmare Before Christmas tree topper. Whether you're a seasoned crafter or a beginner, this project is both fun and achievable. With a little imagination and effort, you can create a topper that perfectly captures the essence of Tim Burton's beloved film.
From sourcing materials to assembling your masterpiece, we’ll cover everything you need to know to make this project a success. Let’s dive into the world of spooky yet festive holiday crafting and bring a touch of Halloween Town to your Christmas tree!
Read also:Halloween Party Ideas Unleash The Spooky Fun With These Amazing Themes And Tips
Why Choose a Nightmare Before Christmas Tree Topper?
A tree topper is the crowning piece of your Christmas tree, symbolizing the heart and soul of your holiday decorations. By choosing a Nightmare Before Christmas theme, you can celebrate both Christmas and Halloween in one stunning creation. This combination appeals to fans of the film who want to incorporate its unique aesthetic into their holiday traditions.
Here are some reasons why a Nightmare Before Christmas tree topper is a great idea:
- It showcases your love for the film and its characters.
- It adds a quirky and creative twist to traditional holiday decorations.
- It’s a conversation starter that can spark joy and curiosity among guests.
Materials You’ll Need
Basic Supplies
Before starting your DIY project, gather the necessary materials. These supplies will help you bring your tree topper vision to life:
- Cardboard or foam board
- Acrylic paints (black, white, orange, green, purple)
- Paintbrushes (various sizes)
- Hot glue gun and glue sticks
- Scissors or craft knife
- Decorative elements (sequins, glitter, felt, etc.)
Optional Additions
To enhance your tree topper, consider adding these optional items:
- LED fairy lights
- Faux snow
- 3D embellishments (e.g., plastic skulls, pumpkins)
Step-by-Step Guide to Creating Your Tree Topper
Step 1: Design Your Tree Topper
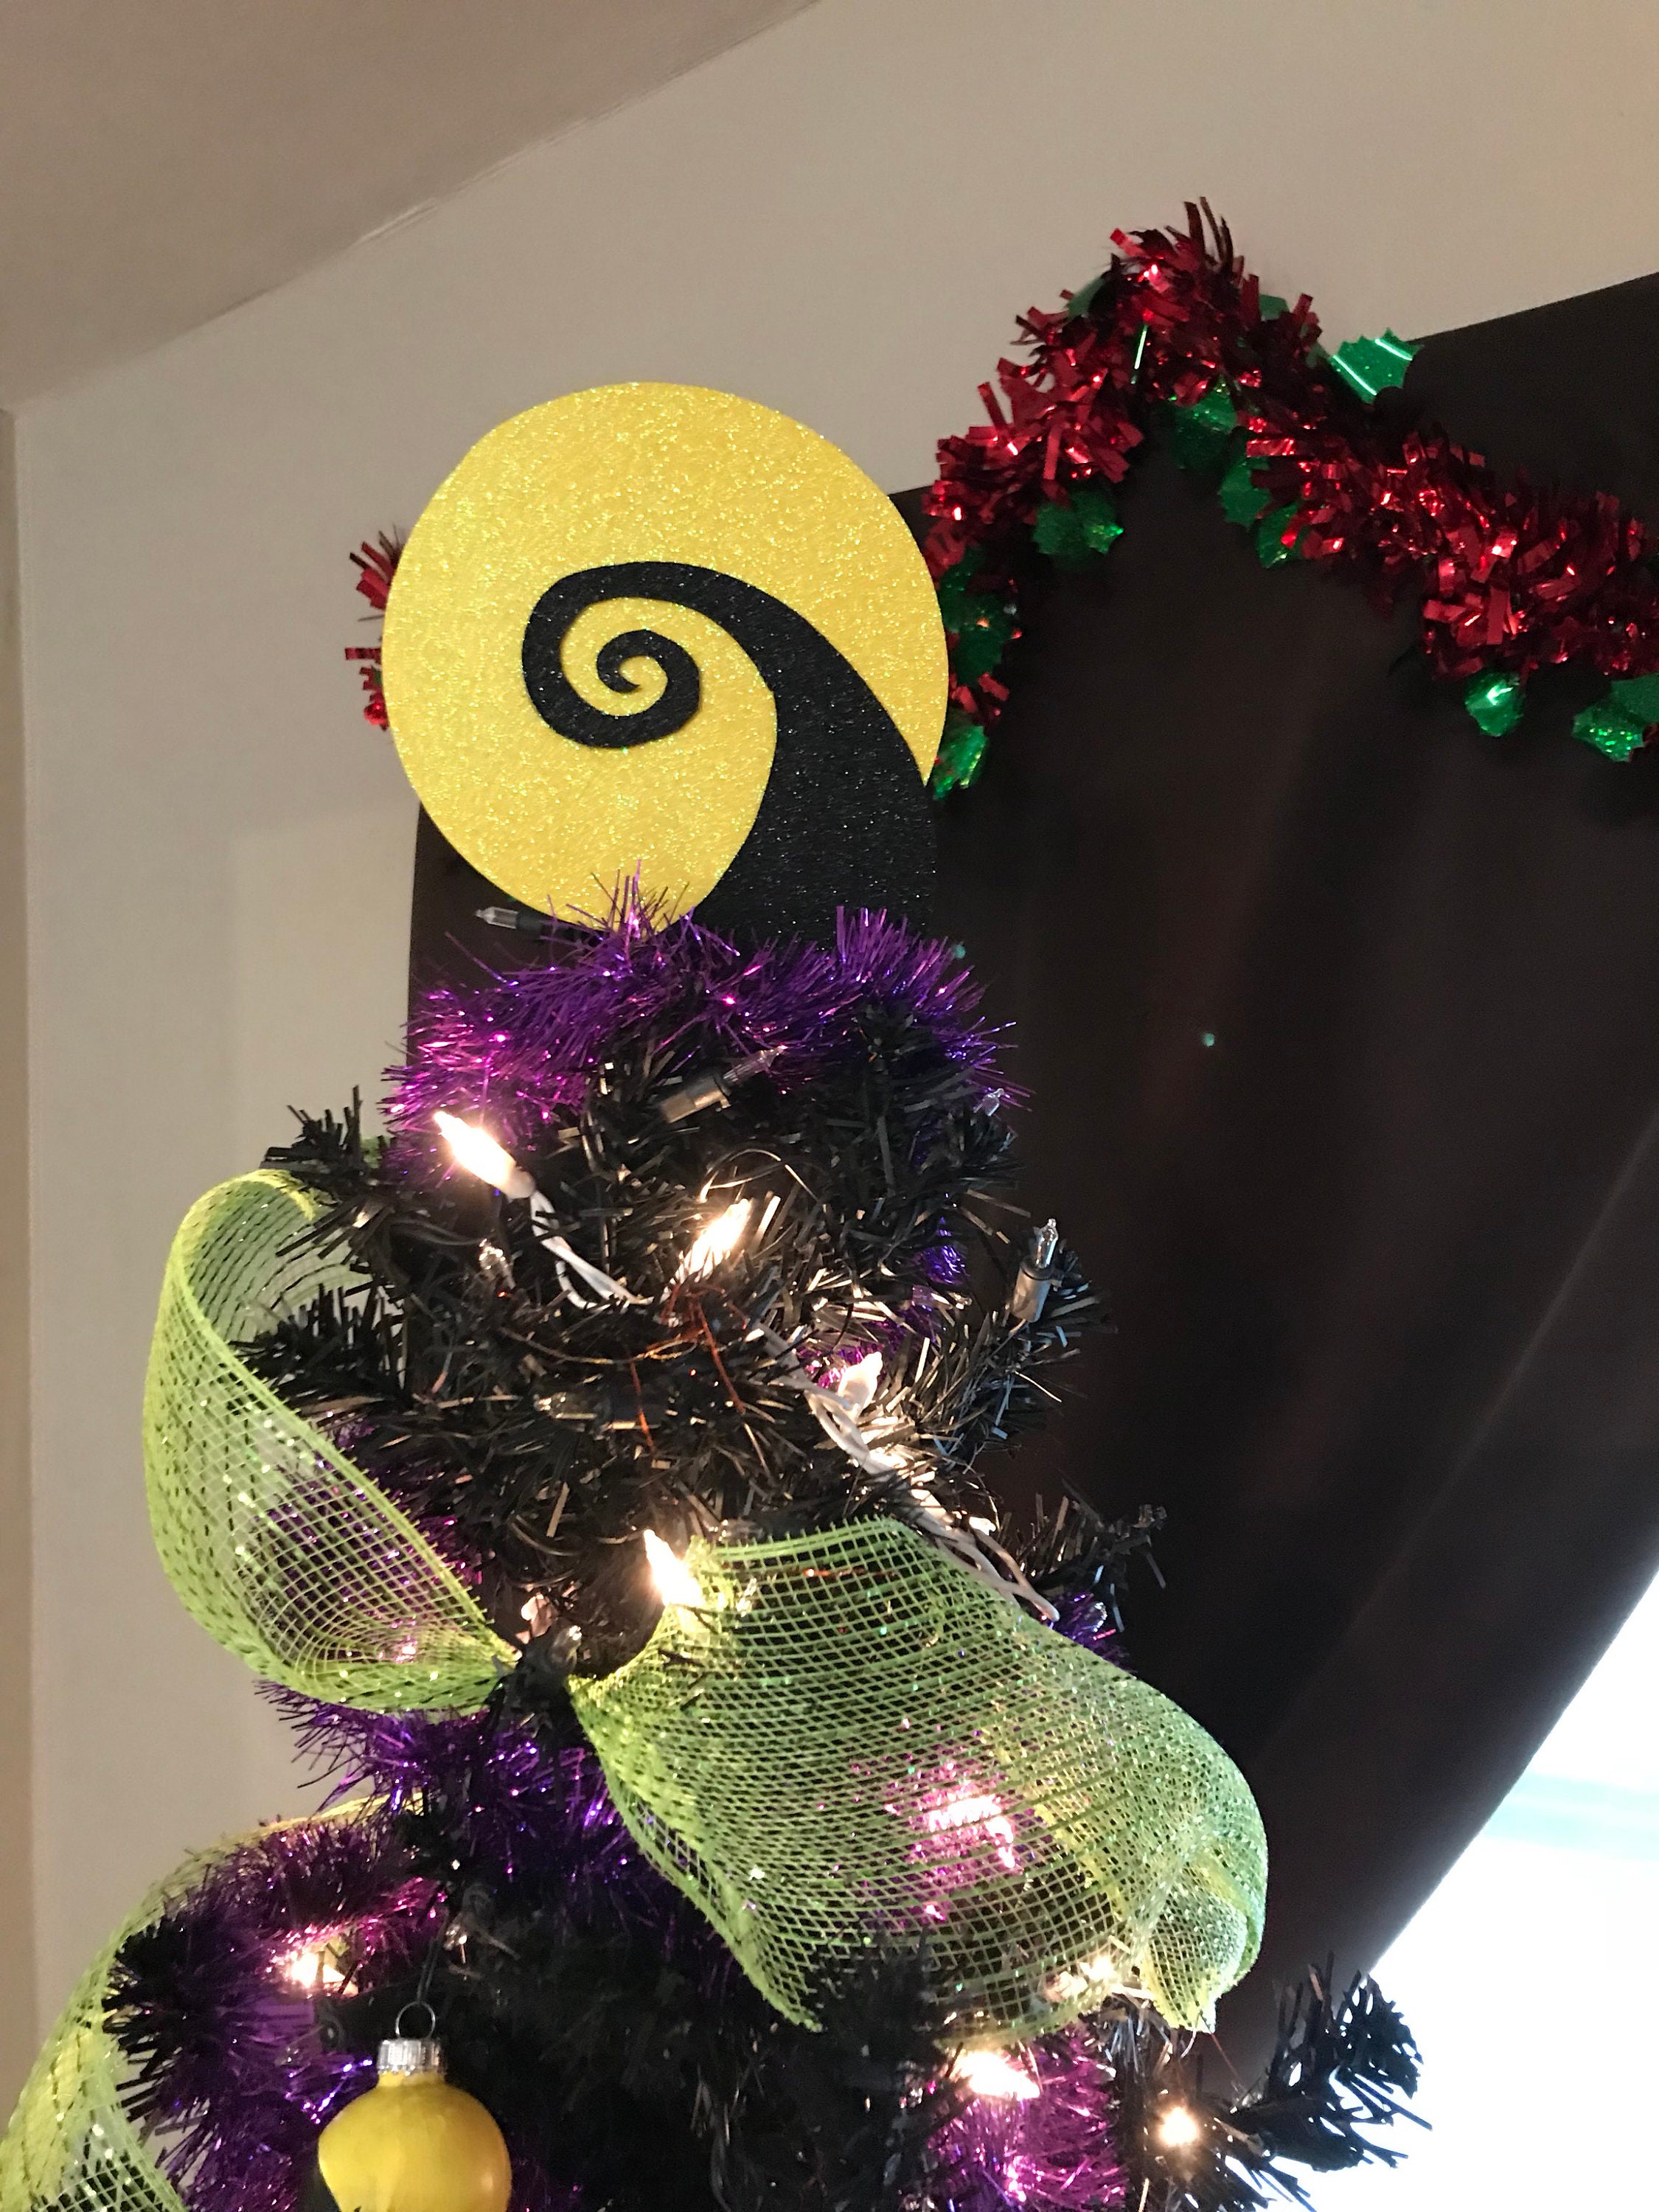
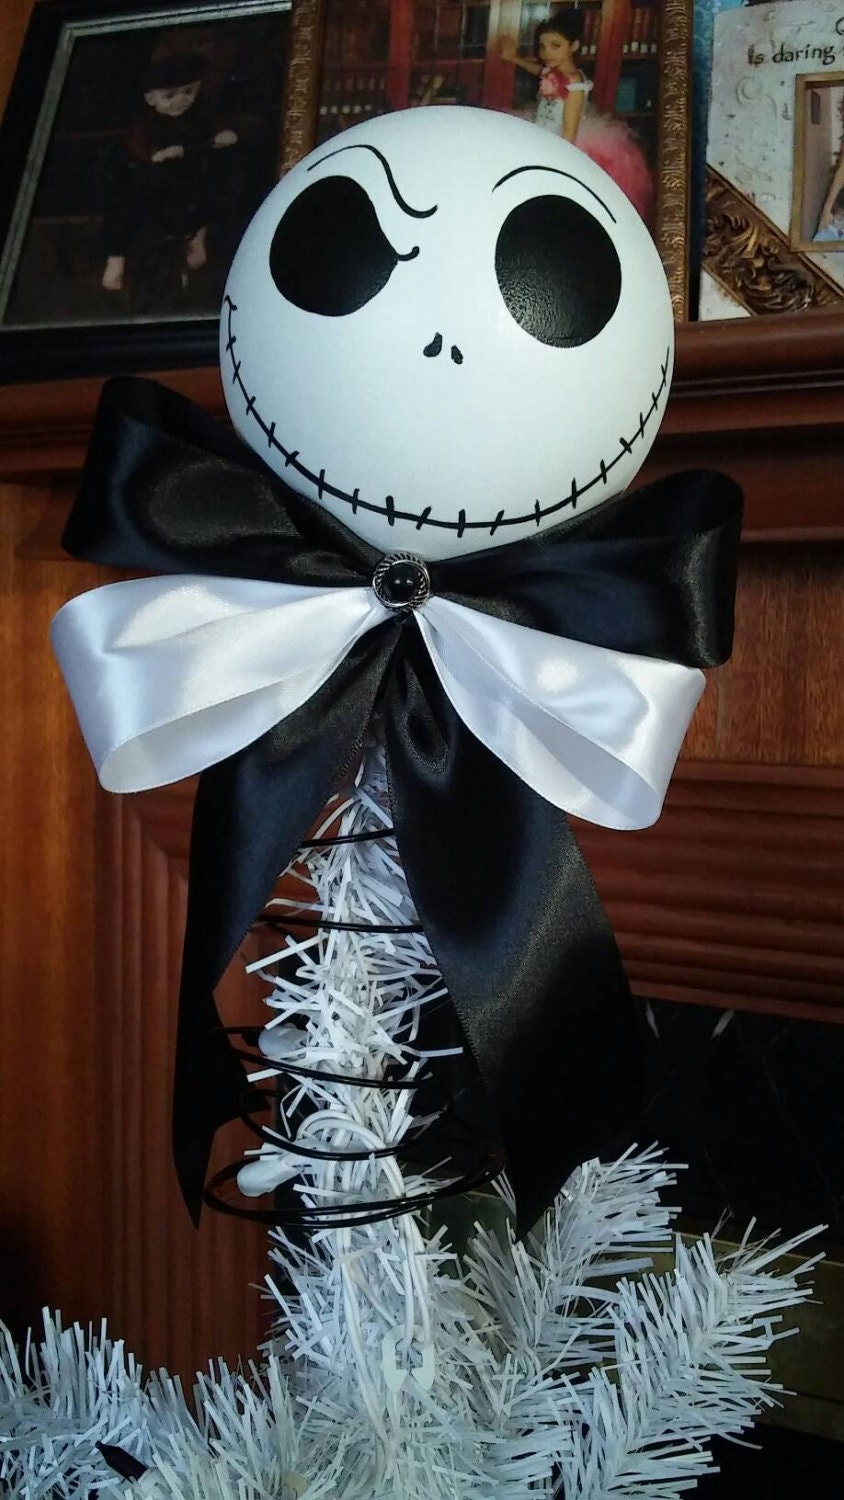
Begin by sketching your design on paper. Decide which character or symbol from "The Nightmare Before Christmas" you want to feature. Popular choices include Jack Skellington, Sally, or the iconic moon. Ensure your design is proportionate to the size of your Christmas tree.
Step 2: Cut Out the Base
Using your cardboard or foam board, trace your design onto the material and carefully cut it out. Make sure the edges are smooth and even for a polished look.
Read also:Unlock Your Creativity With The Trendy Angry Dog Filter
Step 3: Paint and Decorate
Apply acrylic paint to your base, following your design. Use multiple layers for vibrant colors and allow each layer to dry completely. Once the paint is dry, add decorative elements such as glitter, sequins, or felt for extra texture.
Step 4: Assemble the Pieces
If your design includes multiple parts (e.g., Jack Skellington’s arms or hat), assemble them using a hot glue gun. Ensure all pieces are securely attached to prevent them from falling apart.
Step 5: Add Lighting (Optional)
For an extra festive touch, incorporate LED fairy lights into your tree topper. Wrap the lights around the base or embed them within the design for a glowing effect.
Choosing the Right Theme
When designing your DIY Nightmare Before Christmas tree topper, consider the theme that best represents your style. Some popular themes include:
- Jack Skellington as Santa Claus
- Sally’s iconic appearance
- The moon and stars from Halloween Town
Selecting a theme will help guide your design choices and ensure your tree topper aligns with your vision.
Expert Tips for a Perfect Finish
Tip 1: Start with a Sketch
Creating a detailed sketch of your design will save time and effort during the crafting process. It also allows you to make adjustments before committing to the final product.
Tip 2: Experiment with Colors
Don’t be afraid to experiment with colors and textures. Acrylic paints offer endless possibilities, and adding glitter or faux snow can elevate your design.
Tip 3: Test the Fit
Before finalizing your tree topper, test it on your Christmas tree to ensure it fits well. Adjust the size if necessary to avoid disappointment later.
Cost-Effective Alternatives
If you’re on a budget, there are several cost-effective alternatives to consider:
- Use recycled materials, such as old cereal boxes, for the base.
- Opt for affordable crafting supplies from discount stores.
- Create simple designs that require fewer materials.
Common Mistakes to Avoid
While crafting your DIY Nightmare Before Christmas tree topper, avoid these common mistakes:
- Rushing the painting process, leading to uneven or smudged colors.
- Using flimsy materials that can’t support the design.
- Overloading the topper with decorations, making it too heavy for the tree.
Inspiration from Other DIY Projects
Looking at other DIY projects can provide inspiration and ideas for your own creation. Websites like Pinterest and YouTube are excellent resources for tutorials and examples. Check out these popular DIY projects for additional guidance:
- DIY Jack Skellington ornaments
- Halloween Town-inspired wreaths
- Tim Burton-themed garlands
Conclusion: Bring Your Holiday Spirit to Life
Creating a DIY Nightmare Before Christmas tree topper is a fun and rewarding project that allows you to express your creativity and love for the film. By following the steps outlined in this article, you can craft a stunning piece that complements your holiday decorations and becomes a cherished part of your family traditions.
We encourage you to share your finished project with others and inspire fellow fans to try their hand at crafting their own tree toppers. Leave a comment below with photos of your creation or suggestions for future DIY projects. Don’t forget to explore our other articles for more holiday crafting ideas!
Table of Contents
- Why Choose a Nightmare Before Christmas Tree Topper?
- Materials You’ll Need
- Step-by-Step Guide to Creating Your Tree Topper
- Choosing the Right Theme
- Expert Tips for a Perfect Finish
- Cost-Effective Alternatives
- Common Mistakes to Avoid
- Inspiration from Other DIY Projects
- Conclusion: Bring Your Holiday Spirit to Life