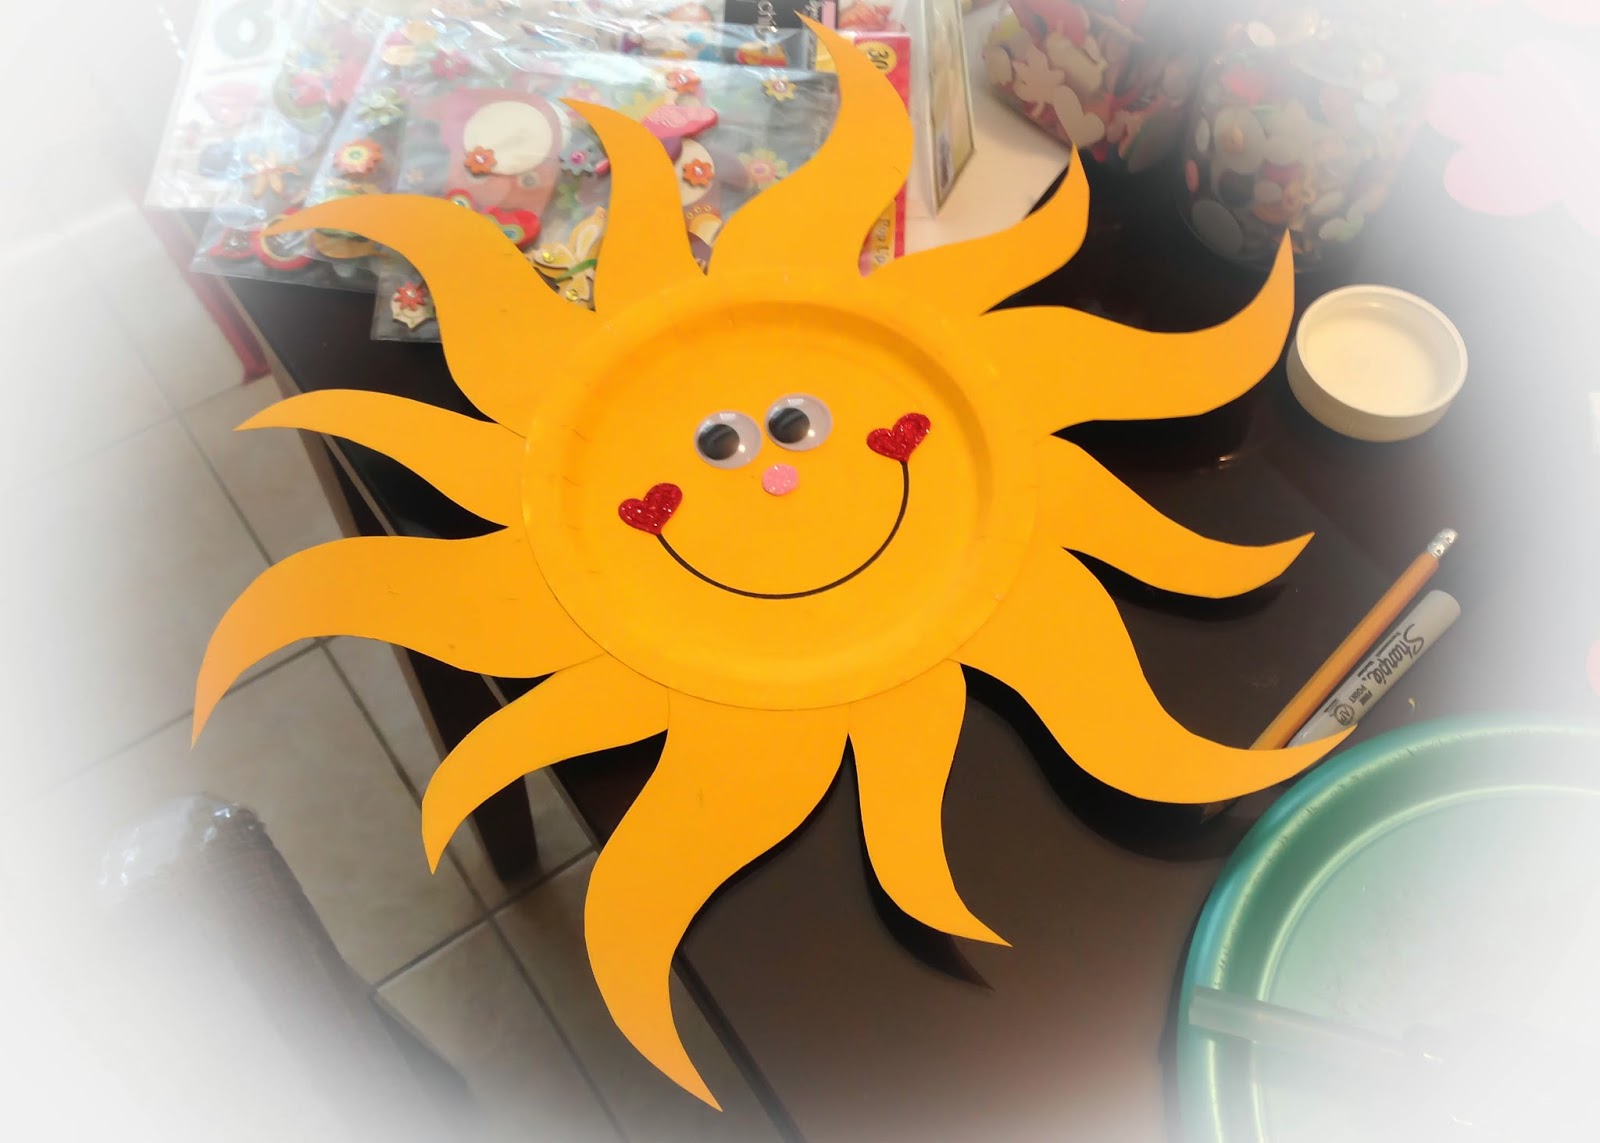
Creating a sun with foam is a fantastic way to add vibrant decorations to your home, classroom, or event space. Whether you're crafting for kids or simply looking for a fun DIY project, this guide will take you through every step of the process. With the right techniques and materials, you can create a beautiful sun that will brighten up any room.
Making a sun with foam is not only easy but also budget-friendly. This craft is perfect for beginners and those who want to unleash their creativity. Whether you're planning a summer-themed party or need a classroom decoration, foam crafts are versatile and long-lasting.
In this comprehensive guide, we will explore the materials you need, step-by-step instructions, tips for customization, and ideas for using your foam sun in different settings. Let’s dive in and discover how to make a sun with foam that stands out!
Read also:Dog Dancing Tiktok The Ultimate Guide To The Viral Trend
Table of Contents
- Materials Needed for Making a Foam Sun
- Tools Required for the Project
- Step-by-Step Guide to Making a Foam Sun
- Customizing Your Foam Sun
- Tips for a Perfect Foam Sun
- Creative Uses for Your Foam Sun
- Frequently Asked Questions
- Benefits of Using Foam for Crafts
- Safety Tips When Working with Foam
- Conclusion and Final Thoughts
Materials Needed for Making a Foam Sun
Before you start crafting your foam sun, it’s important to gather all the necessary materials. Having everything ready will ensure a smooth crafting experience. Below is a list of items you’ll need:
Essential Materials
- Foam sheets in yellow and orange colors
- A pair of sharp scissors
- A pencil for tracing
- A ruler for precise measurements
- Hot glue gun and glue sticks
- Decorative items such as glitter, stickers, or paint (optional)
These materials are widely available at craft stores or online platforms like Amazon. Ensure you choose high-quality foam sheets for durability and a professional finish.
Tools Required for the Project
Having the right tools makes the crafting process easier and more efficient. Here are the essential tools you’ll need:
- Hot glue gun
- Scissors or a craft knife
- A template or stencil for the sun shape
- A cutting mat to protect your work surface
Investing in quality tools will make your crafting experience more enjoyable and produce better results. For instance, a hot glue gun with adjustable temperature settings can help prevent burns and ensure a strong bond.
Step-by-Step Guide to Making a Foam Sun
Now that you have all the materials and tools ready, let’s dive into the step-by-step process of creating your foam sun.
Step 1: Prepare Your Workspace
Start by clearing a flat surface and laying down a cutting mat. This will protect your table and ensure clean cuts. Gather all your materials within reach to streamline the process.
Read also:Liftlab Vs Luminesce Which Antiaging Solution Is Right For You
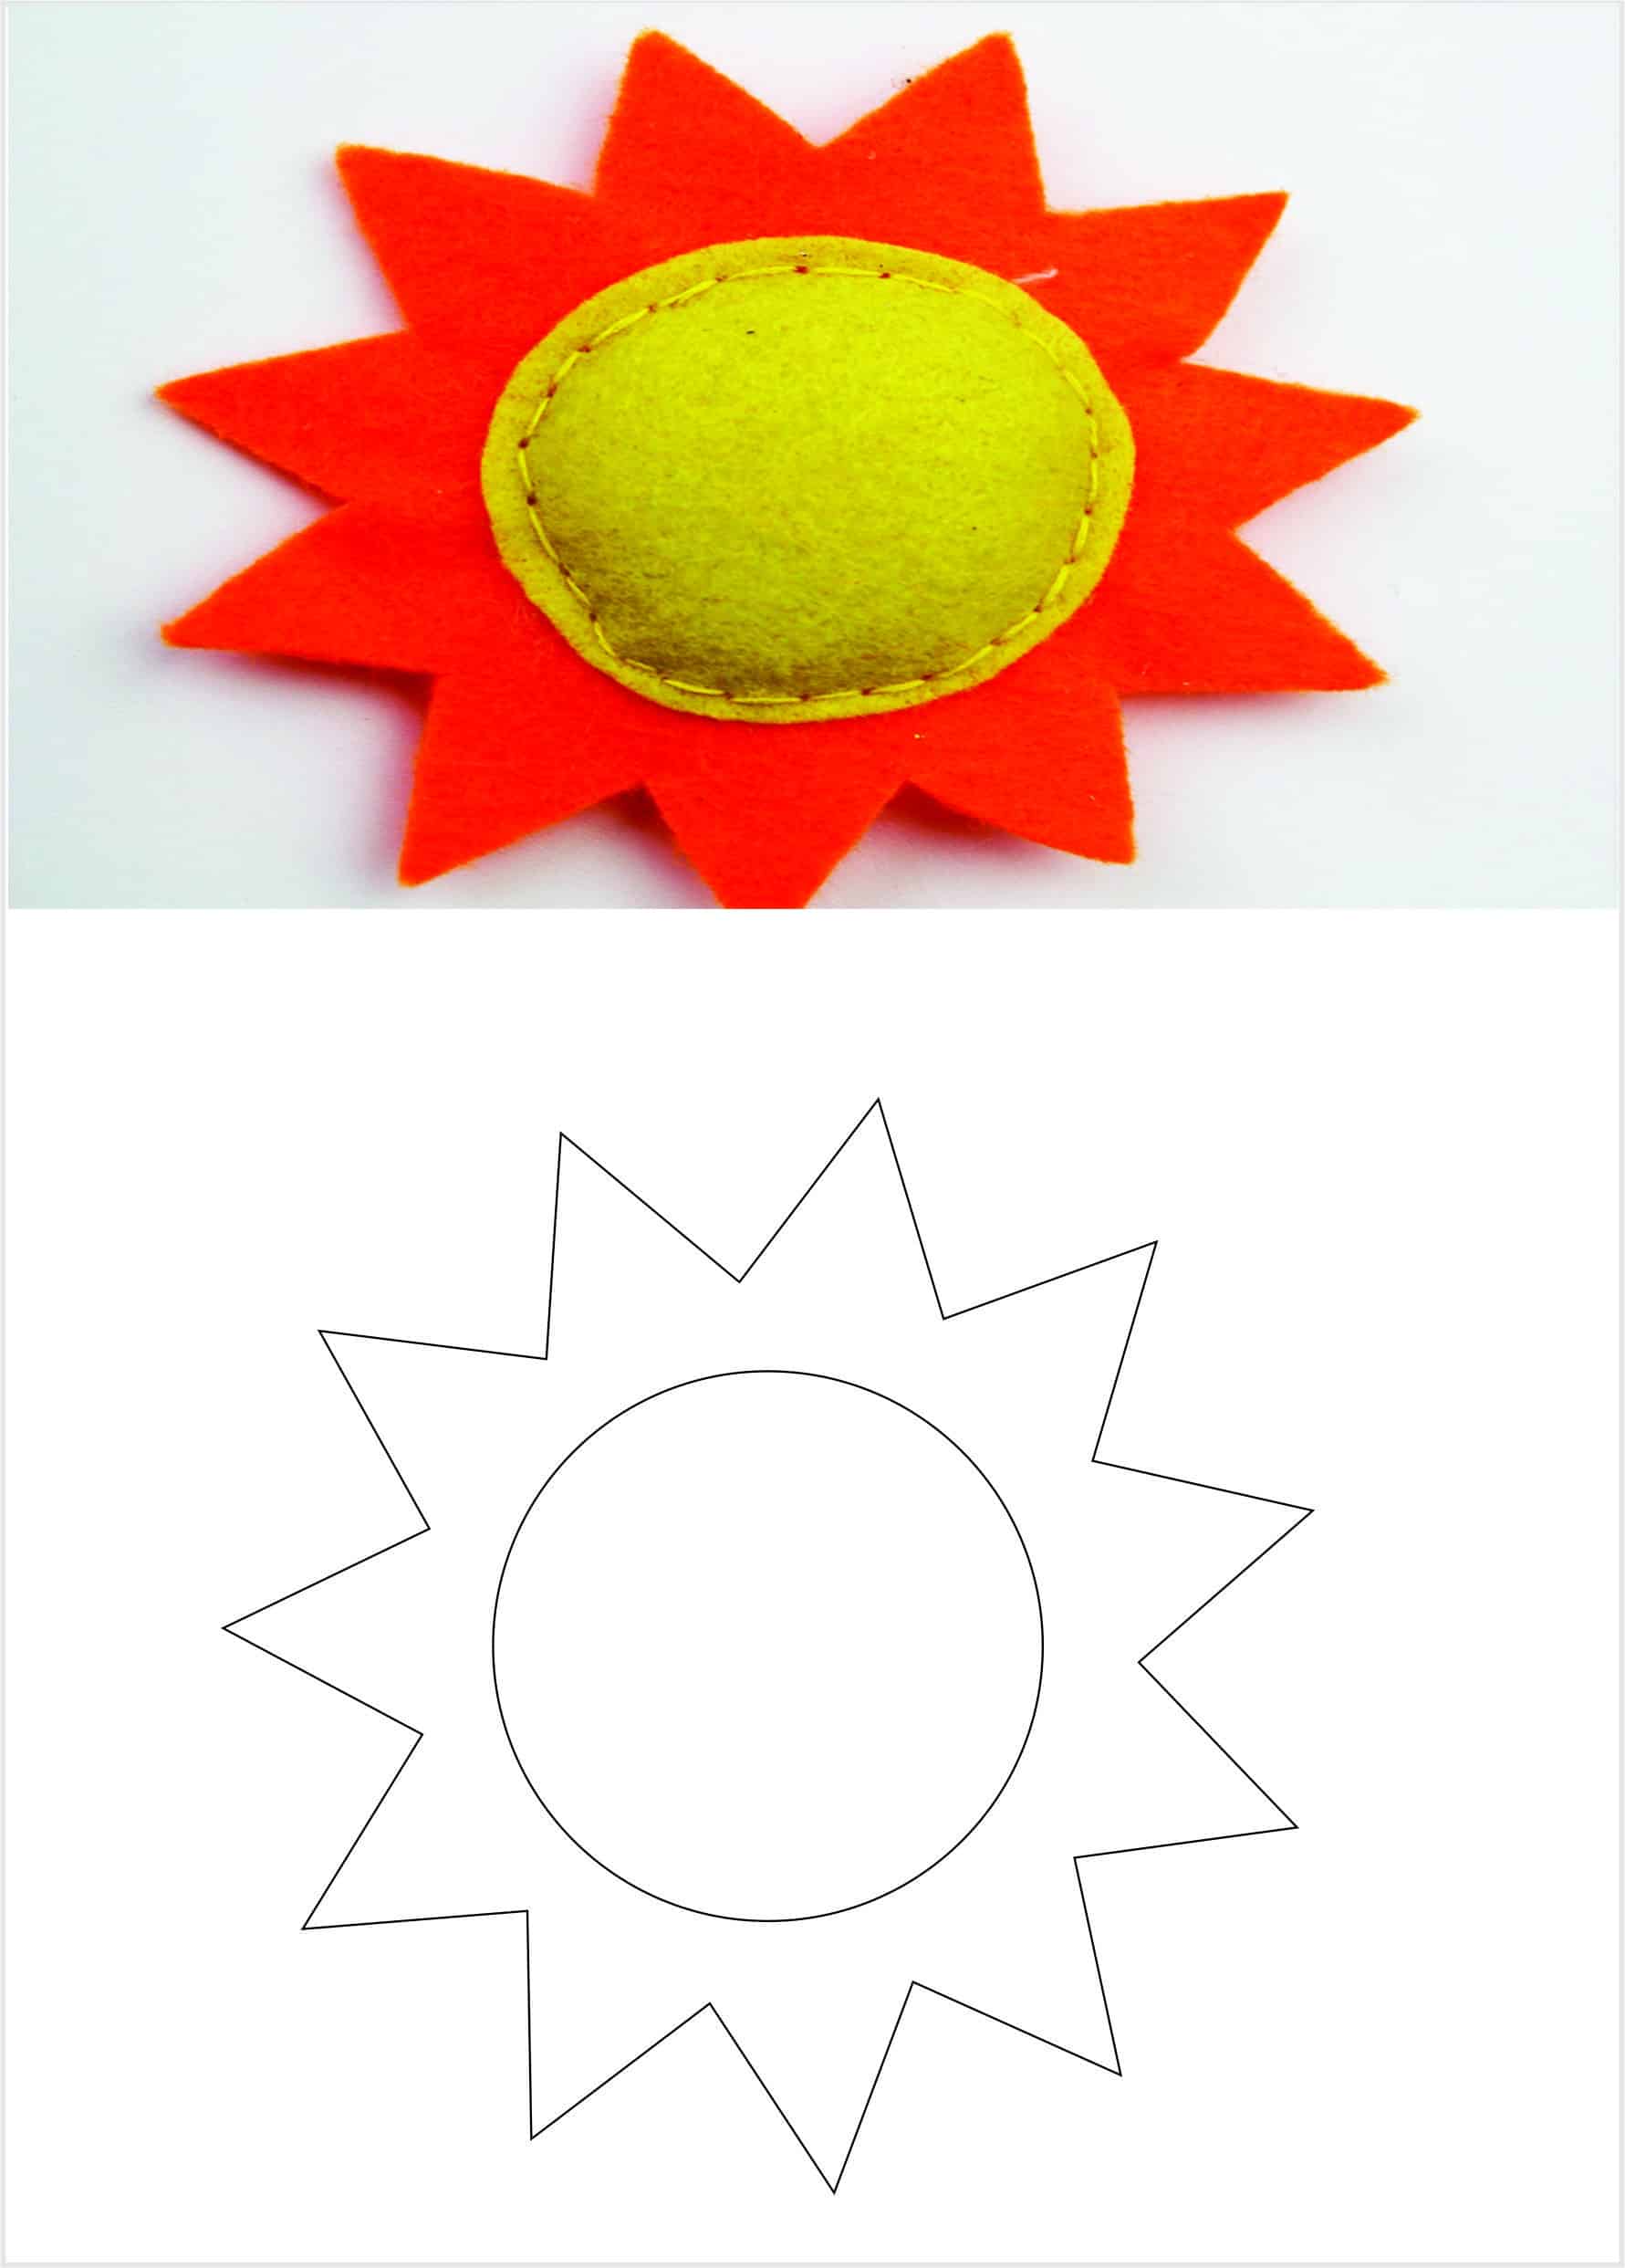
Step 2: Create the Sun Template
Using a pencil and ruler, draw a circle on a piece of paper to serve as your sun template. Add rays around the circle to complete the sun design. Cut out the template carefully.
Step 3: Trace and Cut the Foam
Place the template on the yellow foam sheet and trace it with a pencil. Carefully cut out the sun shape using scissors or a craft knife. Repeat the process with orange foam for the rays.
Step 4: Assemble the Sun
Apply a small amount of hot glue to the edges of the orange rays and attach them to the yellow sun base. Ensure the rays are evenly spaced for a balanced look.
Step 5: Decorate Your Sun
Enhance your foam sun with decorative elements such as glitter, stickers, or paint. This step is optional but can add a personal touch to your creation.
Customizing Your Foam Sun
One of the best things about crafting with foam is the flexibility to customize your creations. Here are some ideas to make your foam sun unique:
- Add different colors to the rays for a gradient effect.
- Incorporate 3D elements like foam stickers for added depth.
- Experiment with various sizes to create a sunburst wall display.
Customization allows you to tailor your foam sun to fit your specific needs and preferences. Whether you’re decorating for a party or creating classroom materials, the possibilities are endless.
Tips for a Perfect Foam Sun
Here are some expert tips to ensure your foam sun turns out perfectly:
- Use a sharp pair of scissors or a craft knife for clean cuts.
- Work in a well-ventilated area when using hot glue.
- Allow the glue to cool slightly before handling the pieces.
Following these tips will help you avoid common mistakes and achieve professional results. Crafting is all about patience and attention to detail.
Creative Uses for Your Foam Sun
Your foam sun can be used in various ways to enhance your space. Here are some creative ideas:
1. Classroom Decorations
Use foam suns to brighten up classroom walls or bulletin boards. They can serve as educational tools for teaching about the solar system.
2. Party Decorations
Hang foam suns from the ceiling or walls to create a festive atmosphere at summer parties or outdoor gatherings.
3. Home Decor
Attach a string to your foam sun and hang it as a wall decoration. It can add a pop of color to any room in your home.
Frequently Asked Questions
Here are some common questions people have about making a foam sun:
- How long does it take to make a foam sun? Typically, it takes about 30 minutes to an hour, depending on your level of customization.
- Can I use other materials instead of foam? While foam is the most durable option, you can experiment with paper or felt for a lighter version.
- Is this craft suitable for children? Yes, with adult supervision, children can safely participate in this craft activity.
Benefits of Using Foam for Crafts
Foam is an excellent material for crafting due to its versatility and ease of use. Some benefits include:
- Lightweight and easy to handle
- Durable and long-lasting
- Available in a wide range of colors and thicknesses
These qualities make foam an ideal choice for various crafting projects, from decorations to educational tools.
Safety Tips When Working with Foam
While crafting with foam is generally safe, it’s important to follow some basic safety guidelines:
- Use scissors and craft knives carefully to avoid cuts.
- Keep hot glue guns out of reach of children and handle them with care.
- Dispose of foam scraps properly to prevent littering.
By following these safety tips, you can ensure a safe and enjoyable crafting experience for everyone involved.
Conclusion and Final Thoughts
Making a sun with foam is a rewarding and creative activity that anyone can enjoy. By following the steps outlined in this guide, you can create a beautiful foam sun that will brighten up any space. Remember to customize your sun to suit your needs and explore different uses for your creation.
We encourage you to share your foam sun creations with others and inspire them to try this fun craft. Don’t forget to leave a comment below with your thoughts and questions. For more crafting ideas, check out our other articles on our website.
Thank you for reading, and happy crafting!
.jpg)
